Installing Nomadesk
Install and configure the Nomadesk software after the base operating system has been installed.
Accessing the installation Wizard
Please configure your DNS first, Nomadesk cannot be installed without a valid DNS configuration.
Once the DNS has been applied, the installation wizard is reachable on port 8181 (https://<hostname>:8181)
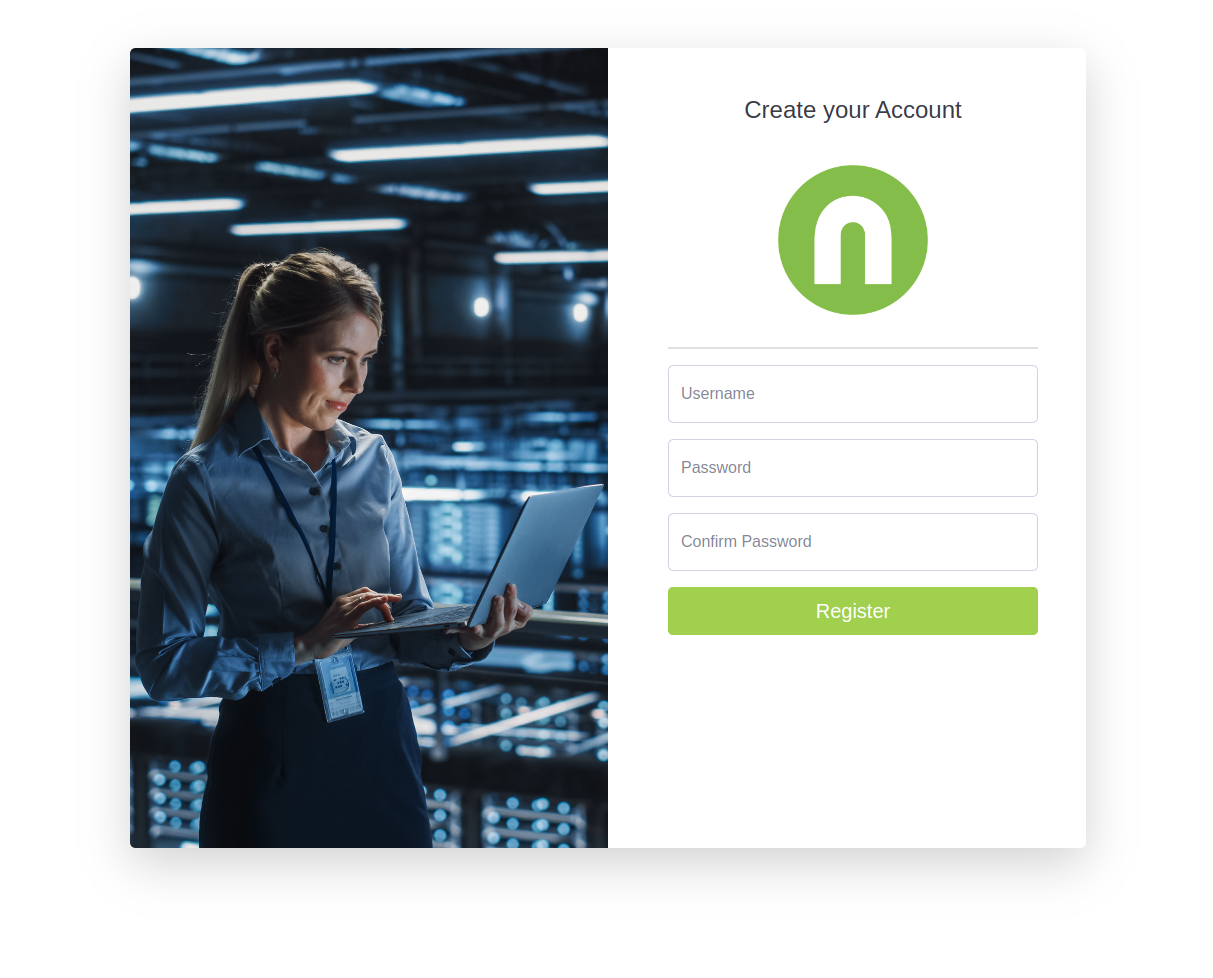
The following page will be displayed if you did not create a user in the configuration step, if you did, a login screen will be shown instead to log in with that user.
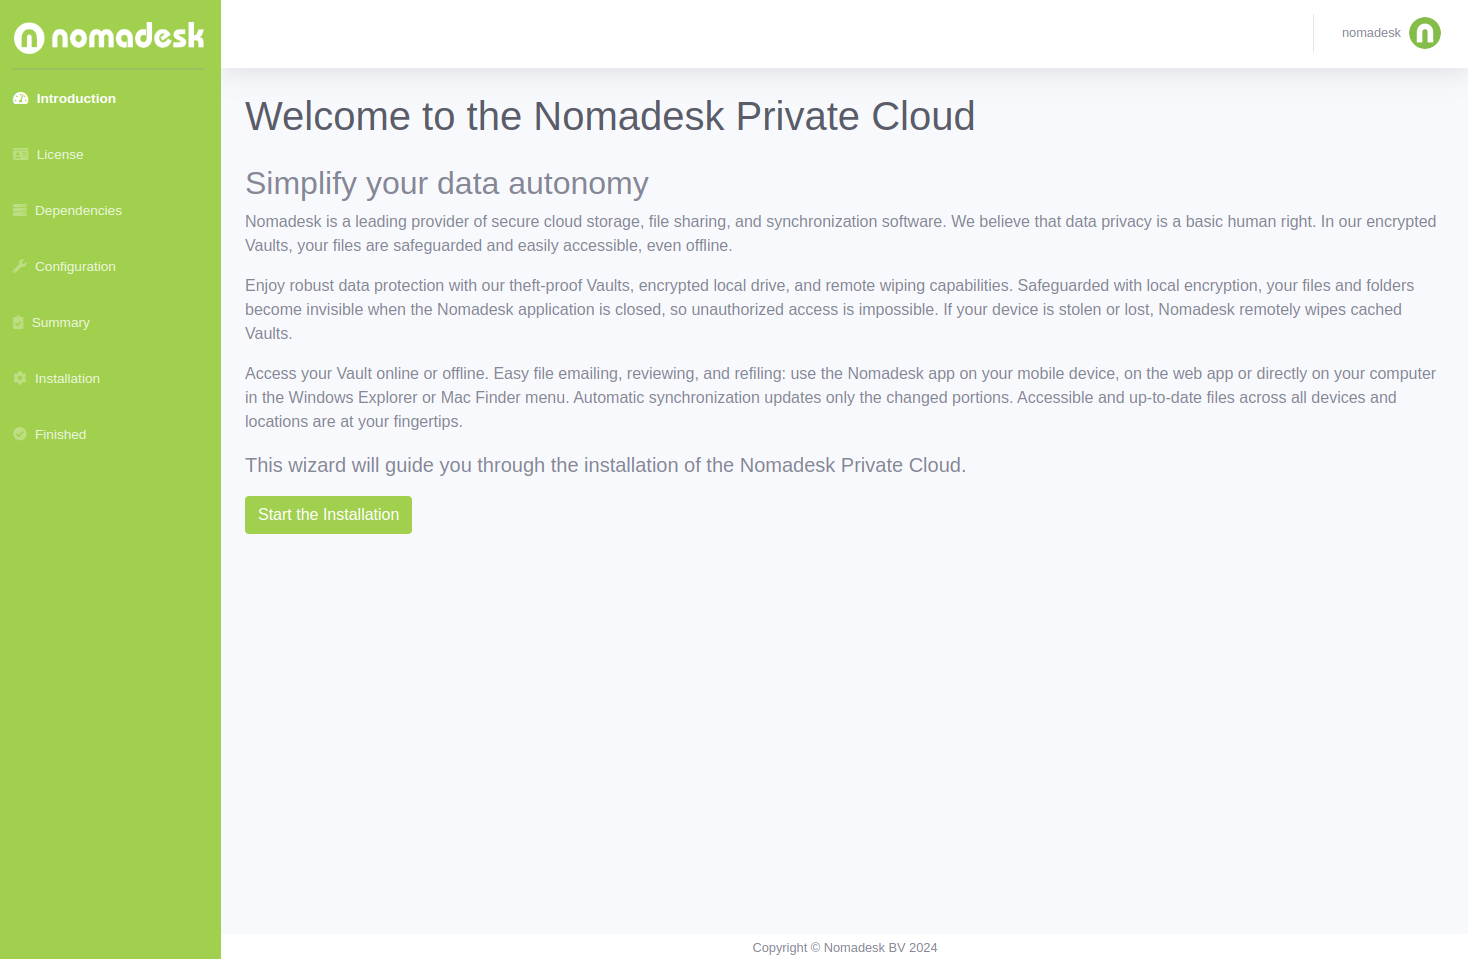
Wizard Start Page
Once logged in the installation wizard will be shown, click Start the Installation to begin.
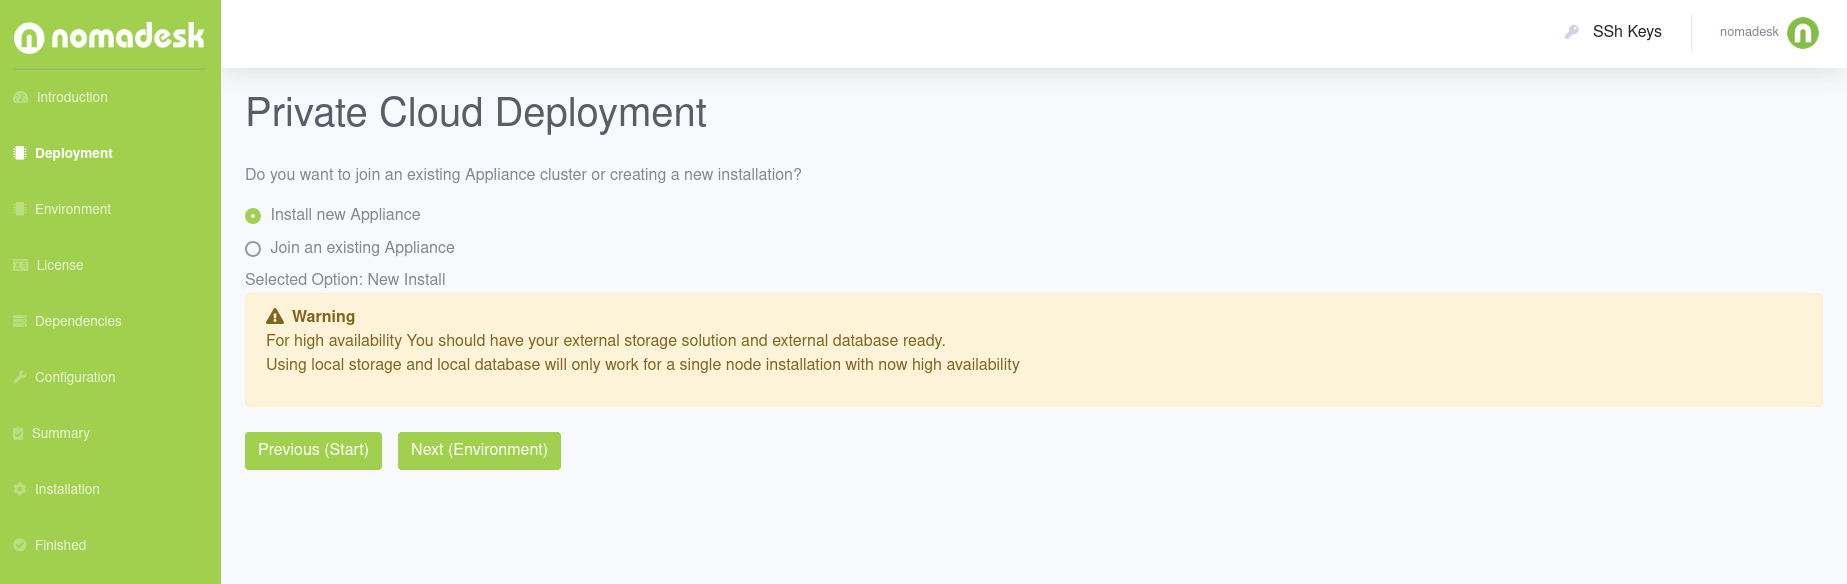
Type of Installation
You can choose between installing a new nomadesk appliance or joining a highly available nomadesk appliance.
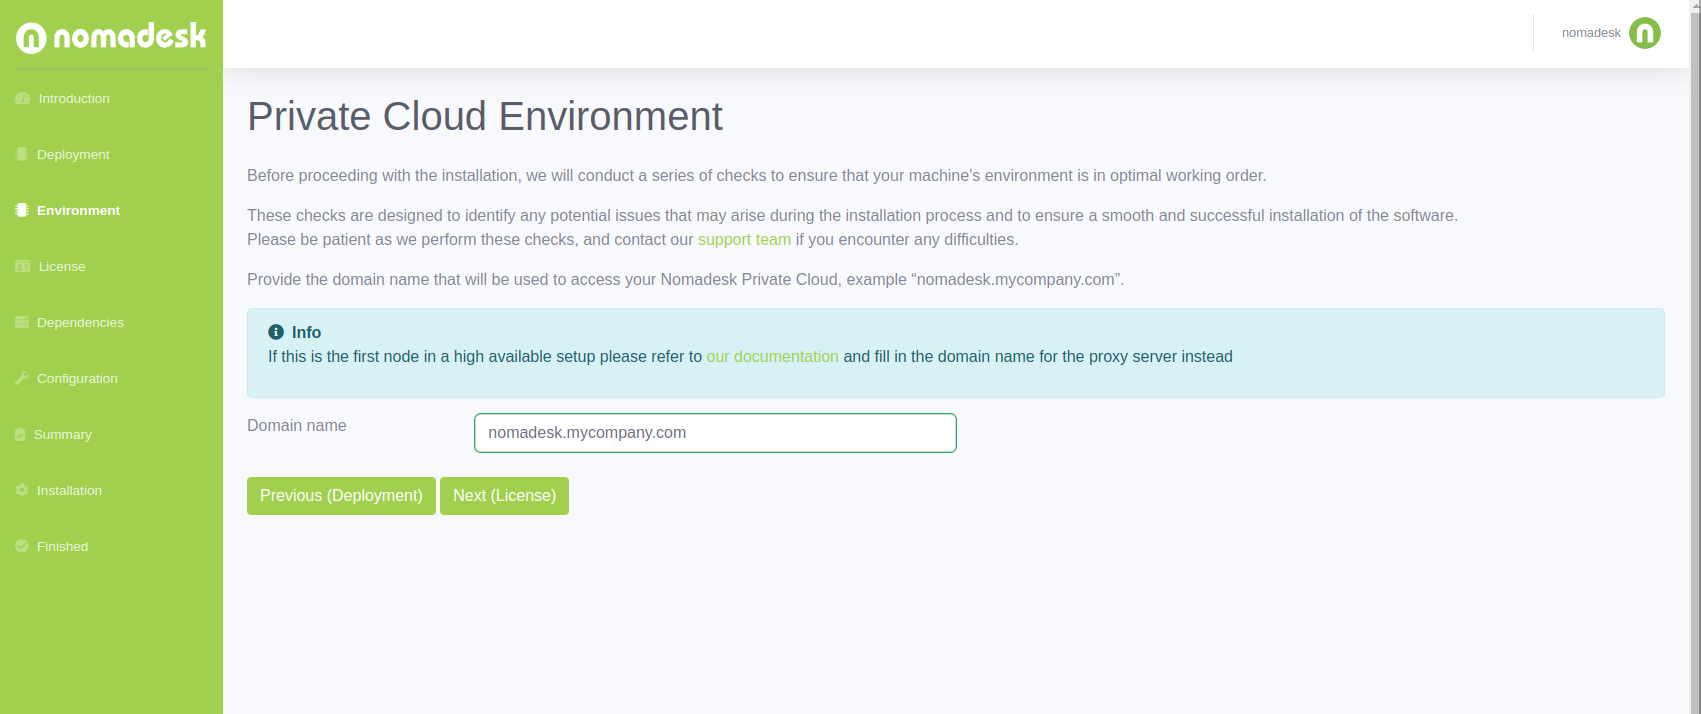
Environment Page
Provide the domain name that will be used to access your Nomadesk Private Cloud, example “nomadesk.mycompany.com”.
If this is the first node in a high available setup please refer to our documentation and fill in the domain name for the proxy server instead.
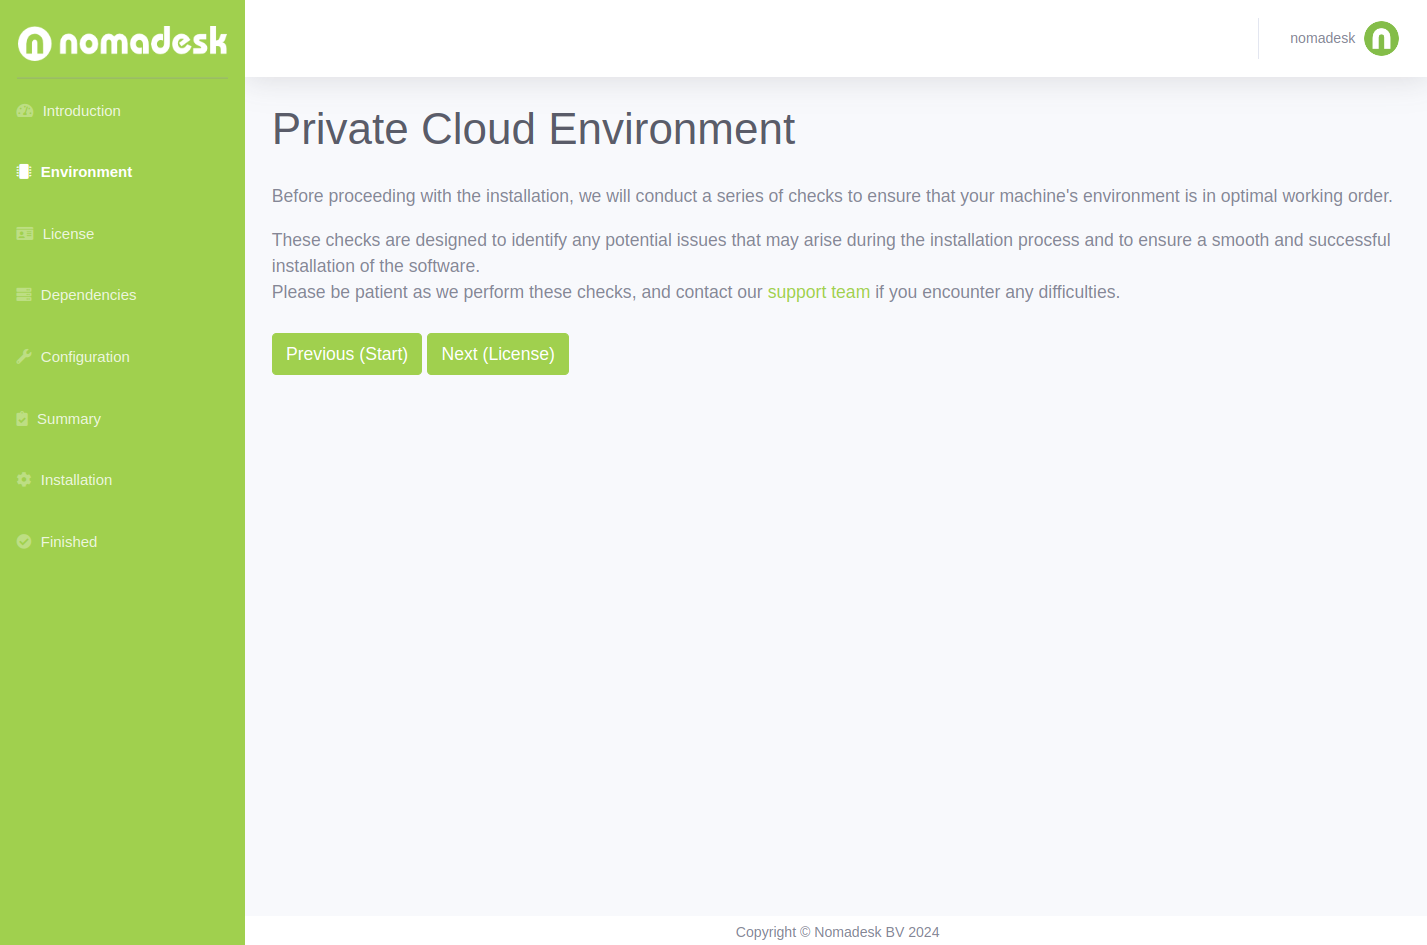
System Initialization
The system initialization is only needed when installing Nomadesk on an existing machine.
When using any other installation method this step will be skipped.
This step makes sure the environment that Nomadesk is being installed on complies with all of the requirements.
Once finished it will take you to the License step.
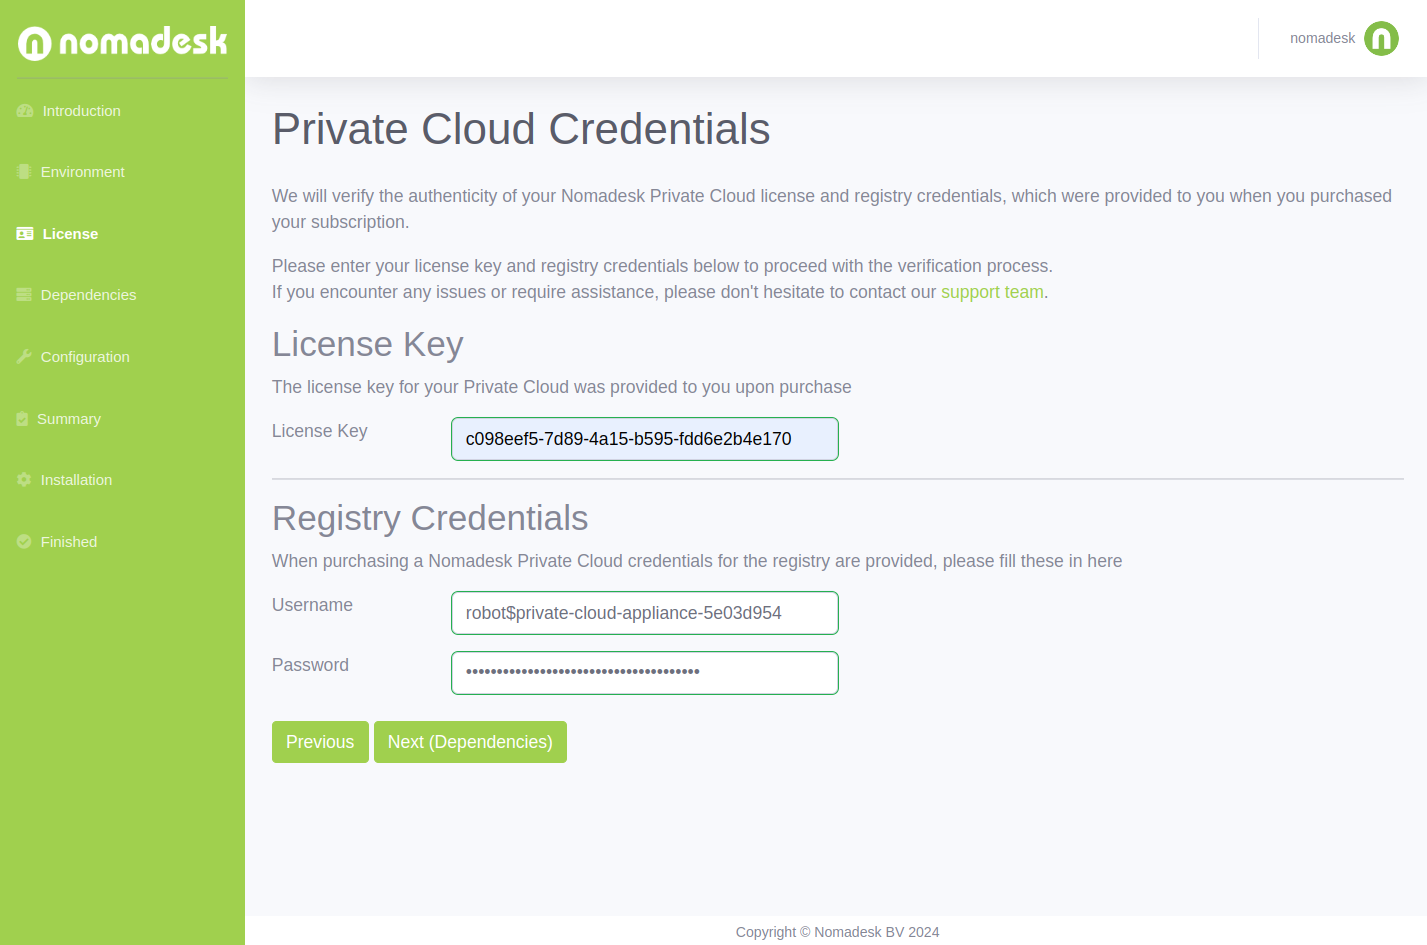
Credentials
In this step the license information is requested that was provided by Nomadesk when purchasing the Nomadesk Private Cloud, this includes:
- A license key
- Login credentials
Once filled in the setup will verify both the license key and registry credentials.
Only one installation can be active at any given time, any other installation will be deactivated!
Once everything is verified the setup will take you to the Dependencies step
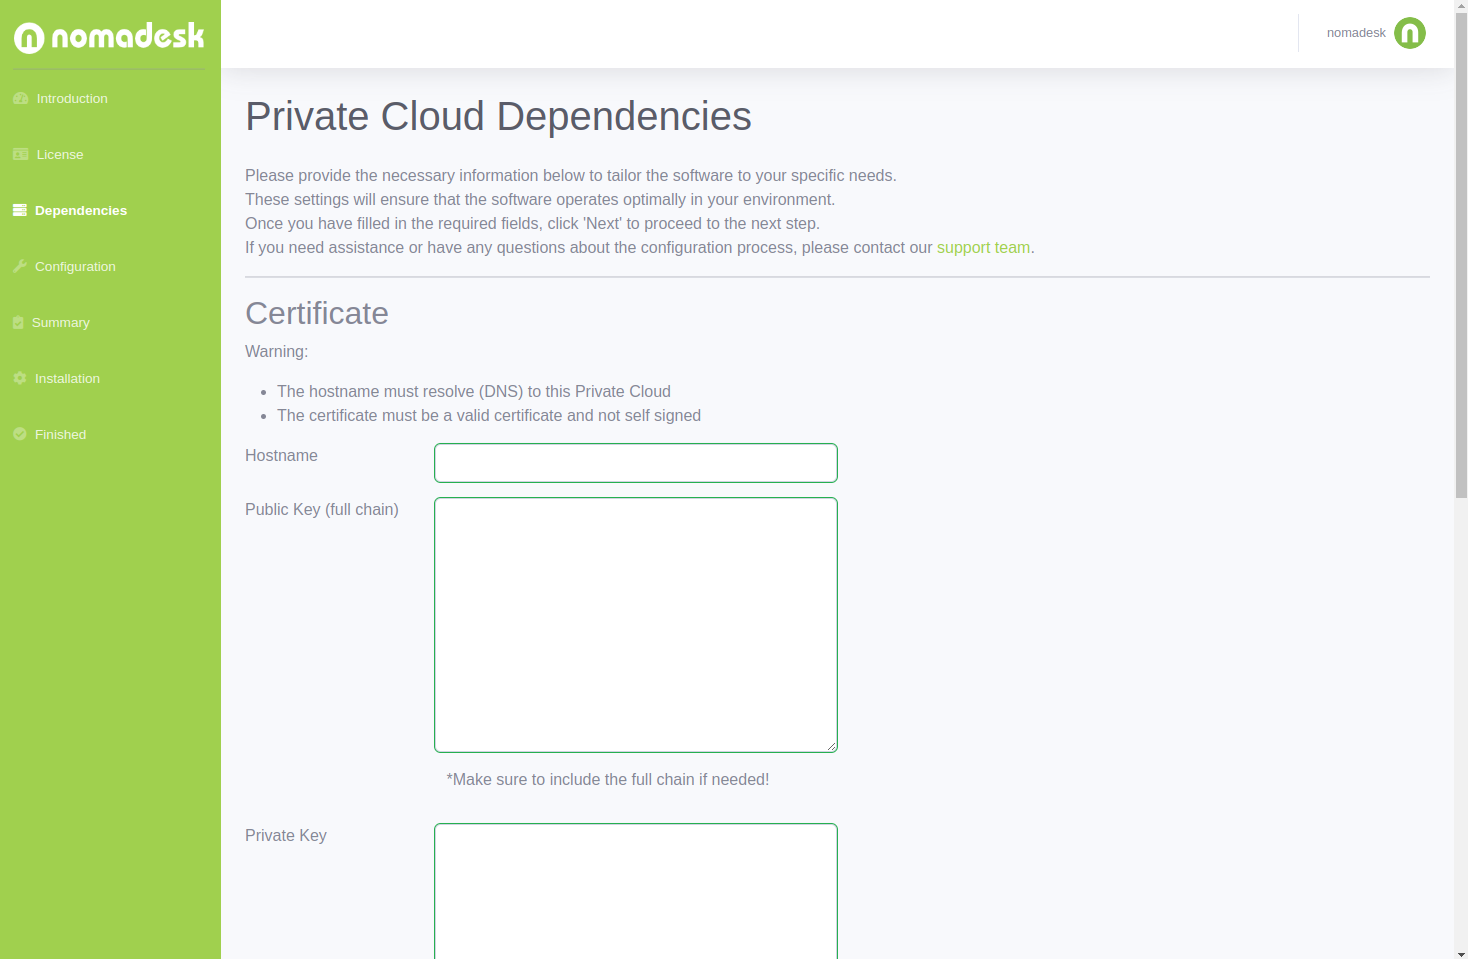
Dependencies
In this step the Nomadesk system configuration is requested, this includes:
- Host name: the URL that the Nomadesk Private Cloud will be reachable on
- Web certificate: a valid (none self signed) certificate for the above domain name
SMTPcredentials: Nomadesk sends emails so a workingSMTPserver is required
Make sure the certificate contains the full chain
Self signed certificates are not supported!
Find our documentation on how to create a Let's Encrypt certificate using certbot with docker here.
Once done, click Next to validate the information, if everything is correct the wizard will forward you to the Nomadesk Configuration step.
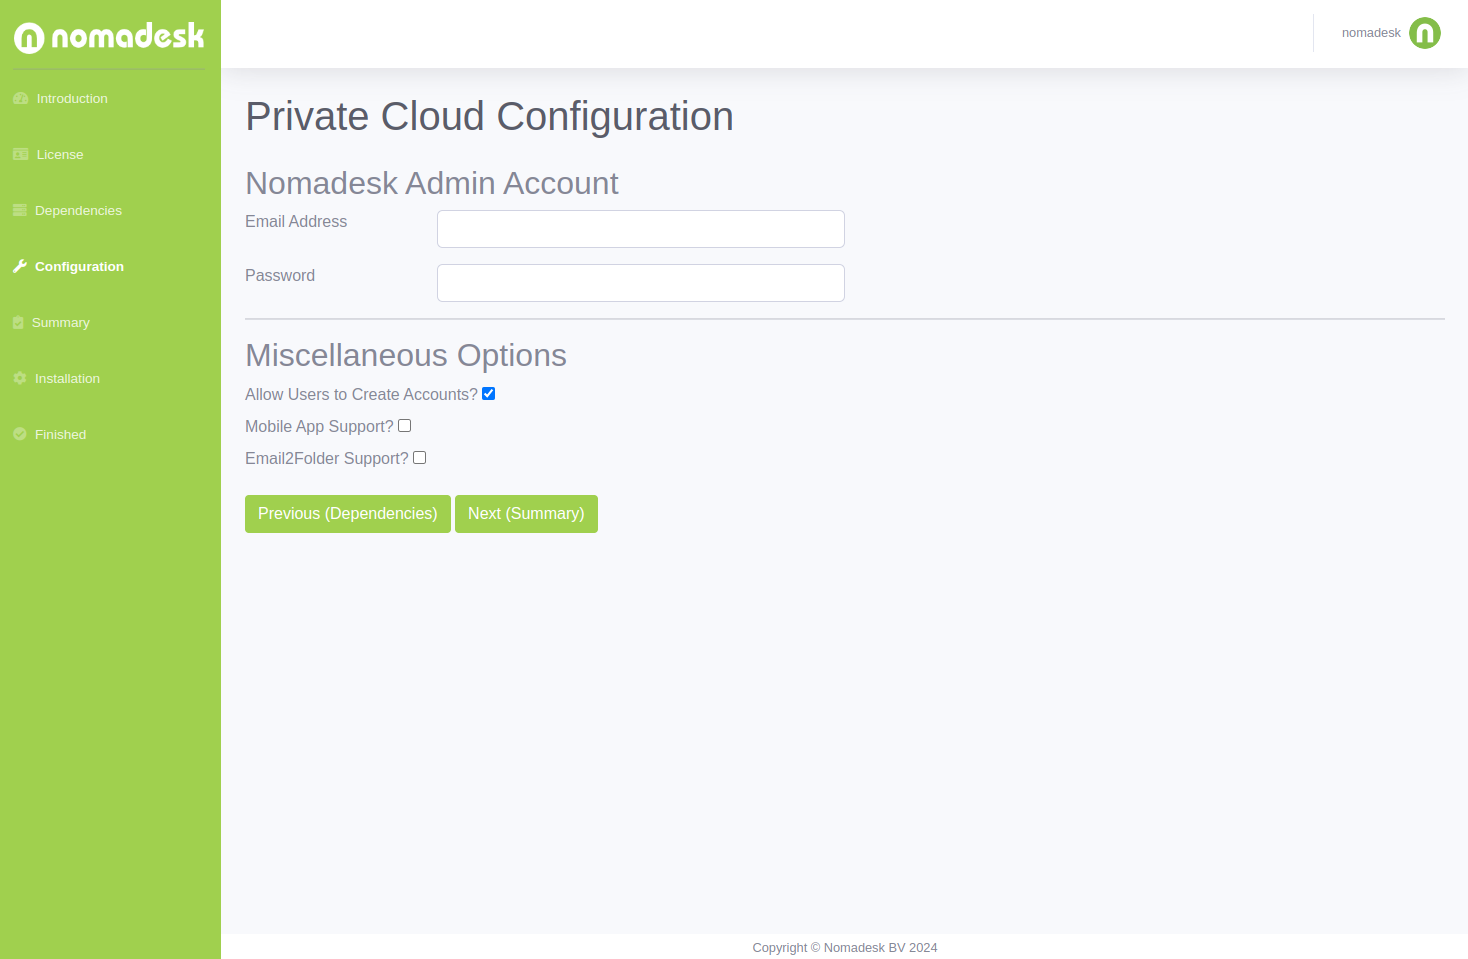
Nomadesk Configuration
In this final step Nomadesk software settings are requested, this includes:
- An admin account to manage the Nomadesk installation on
https://<hostname>/admin - If users are allowed to create accounts themselves
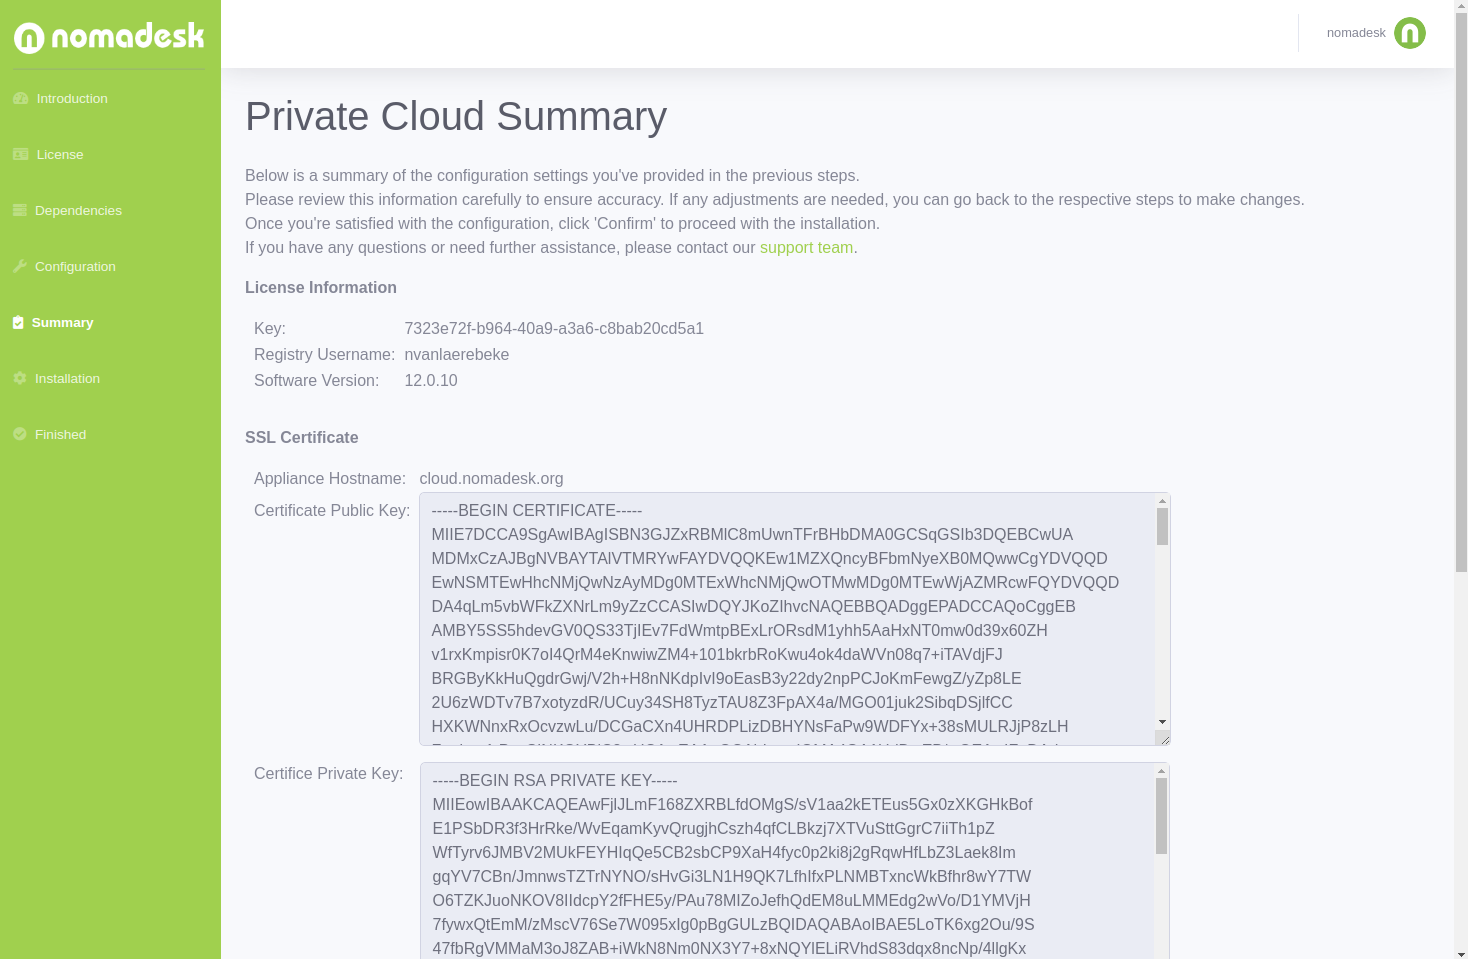
Summary
After this a summary is shown, click Confirm to start the installation process
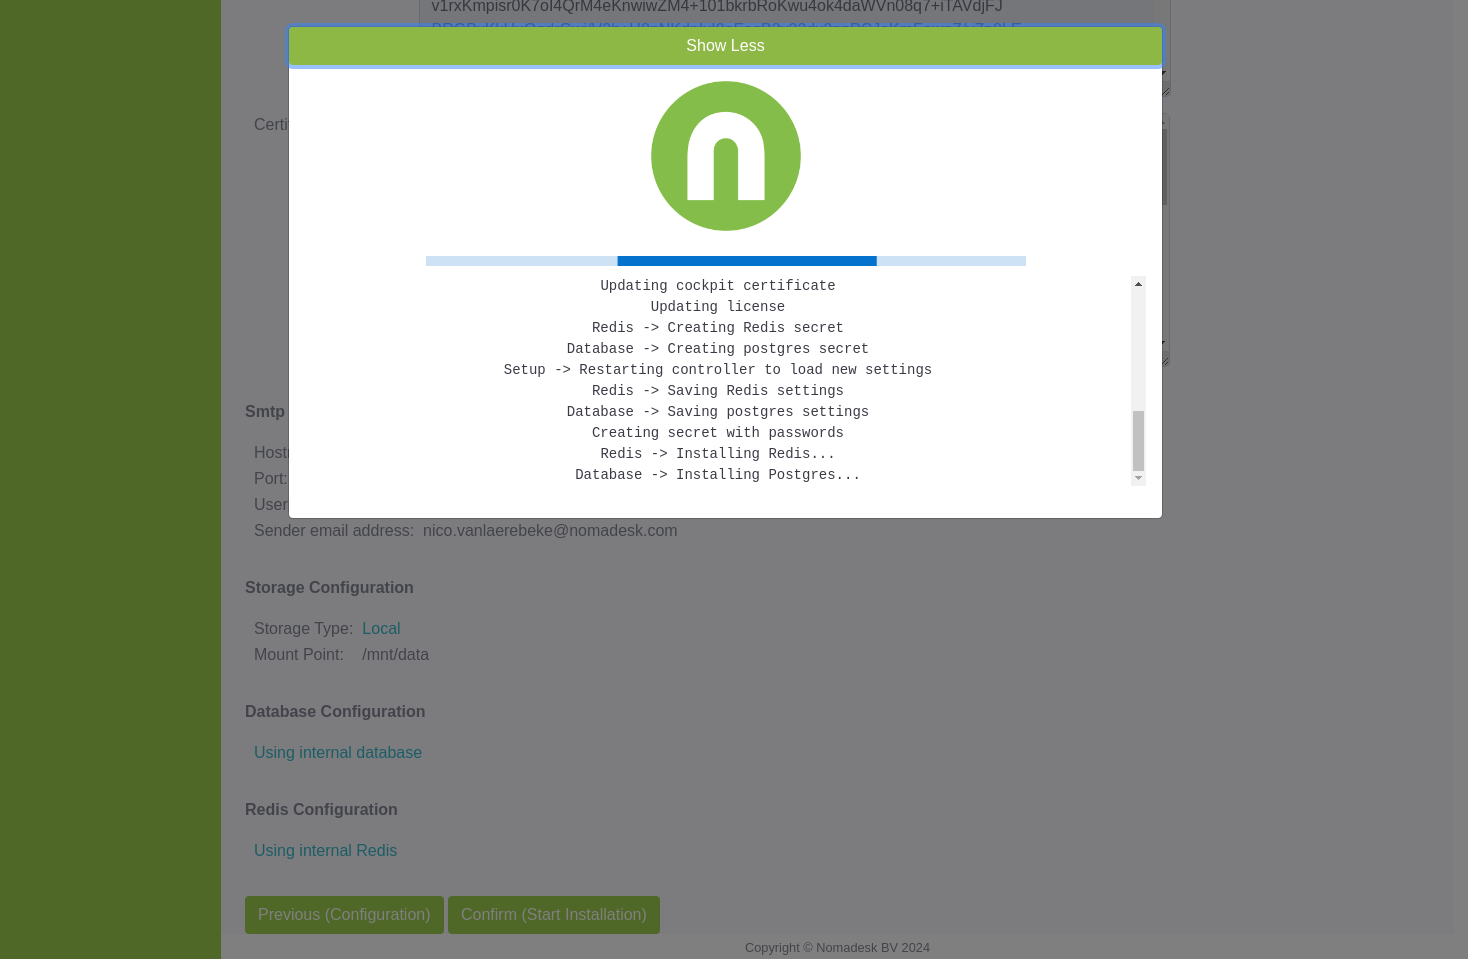
Installation Progress
The installation happens in a few phases:
- Dependencies are installed (
PostgreSQLandRedisdatabases) - Web certificate is installed
- The parts of the Nomadesk software are downloaded
- Nomadesk databases are created and settings are applied
- Installing Nomadesk itself
Once done the wizard will redirect to the Management interface to manage your cloud.
Continue reading the Nomadesk Getting Started to start using the private cloud
The management interface looks as follows:
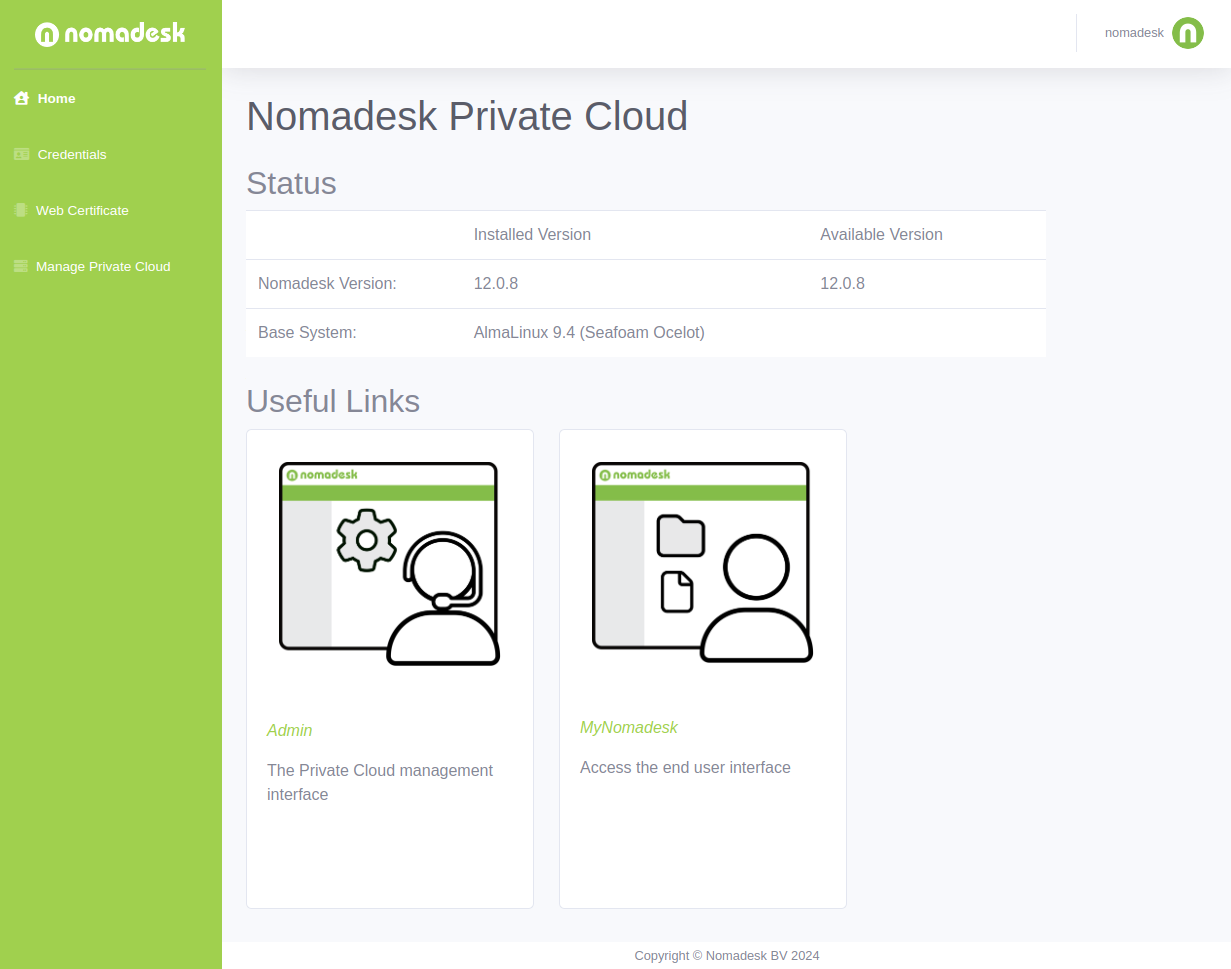
Note that before being able to create Vaults users will have to be created and have a license assigned.
See the admin portal getting started for more information